Geometry Verification and Stern Tube Alignment – China
- 15/12/2015
- Category: News

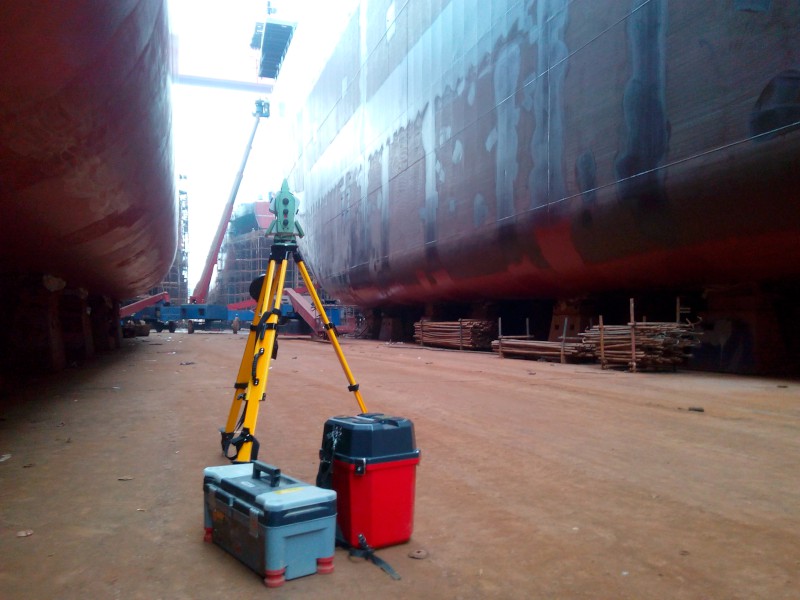
AKSM had undertaken topographic support for geometry verification and stern tube alignment in China.
For the needs of the hull 3D laser scanning and modeling – geometry verification, AKSM provided high precision equipment and all the necessary calculations. In addition the deviations found on specific frames during the verification survey period, in relation to the Nominal Values. Summarized, the items appeared below have been evaluated:
- 3D Stern Tube Casting verification in Hull Cartesian Coordinate System.
In order to accurate capture the constructed geometry and examine – determine geometric characteristics across the constructed hull, a terrestrial TopCon 3D Laser Scanner (GLS 2000), together with a Leica Multi station MS-50 (3D scanning and precise total station) was used for site activity. The scanning accuracy of the Multi Station MS-50 is 0.8mm at 50m distance and 1” (0.3 mgon) angular measurement standard deviation. The scanning accuracy of the GLS-2000 laser scanner is 3.0mm at 110m for point cloud collection.
As far as the stern tube casting – bearing 3D alignment is concerned, the deviations found during the verification surveys in relation to the Nominal Values. Summarized, the items appeared below have been evaluated:
- 3D Stern Tube Casting verification in Hull Cartesian Coordinate System.
- 3D Stern Tube Bearing verification in Hull Cartesian Coordinate System.
- Clearance Verification between Stern Tube Casting and Stern Tube for Epocast 36.
- M/E Foundation Verification in Hull Cartesion Coordinate system.
For the scope of the work described above, as the main purpose was to determine geometric characteristics, the IMS (Industrial Measurements System) Leica Total Station TDA5005 was used, with the corresponding S/W Axyz, for 3D measurements.
The accuracy of the Total Station Leica TDA-5005 is 0.2mm at 130m distance and 0.5” (0.15 mgon) angular measurement standard deviation.
Measurements have been further evaluated and post processed through 3DIM Observer (GLM) software for industrial applications. Measurements on hull have been performed by using hidden point bar, and measurements on casting and bearing have been performed by CCR sphere prism.

